I’ve been using the Google Mail application for years and find the many useful features, such as labels and message rules, excellent for both work and play. The free 15GB of storage makes it far superior to many of the alternatives too.
It might be obvious to many, but did you know that you can use the Google Mail app not just for a gmail.com email address but also for handling all of your other emails too? If, like me, you have several different email addresses for business and personal use then you will probably find that keeping everything within the one application saves time and confusion by making it simple to handle multiple email accounts.
If you have a Google account you will already have a GMail email address which will give you access to the GMail app (and all other Google services). So it just remains to sign in and start importing those other email addresses.
To import your other email accounts into GMail, follow the steps below for each email address…
Click on the gear icon (top right) and select “Settings” from the drop down menu:
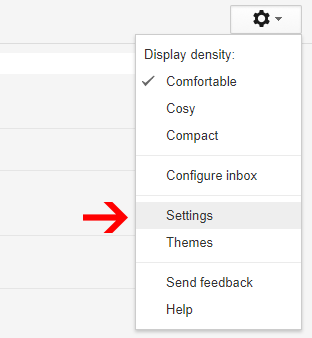
Screenshot showing the dropdown settings menu in GMail
Click on “Accounts and Import”:

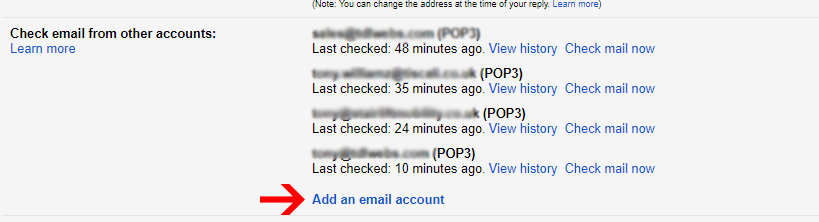
Scroll down to where it says “Check email from other accounts” and click on “Add an email account”:
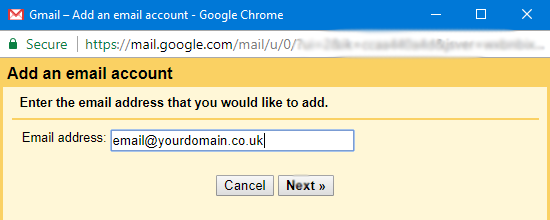
Enter the email address into the box and click on “Next”:
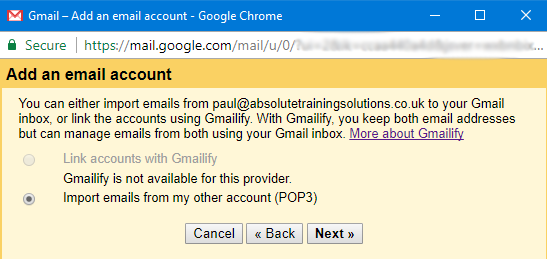
Click on the “Next” button again:
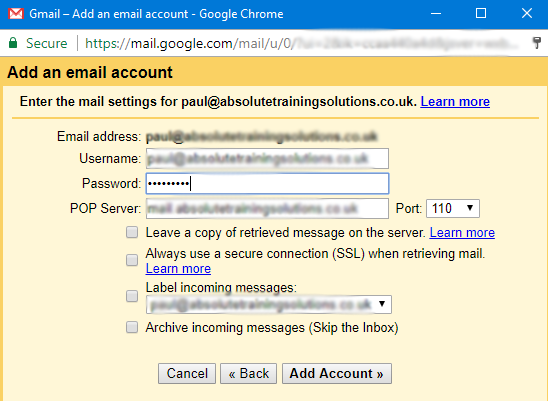
Enter the email address in the Username field and the password in the Password field. The POP Server field should be pre-filled but if not, enter mail.yourdomain.co.uk (change yourdomain.co.uk for your own domain).
Leave check boxes unchecked and click on the “Add Account” button :
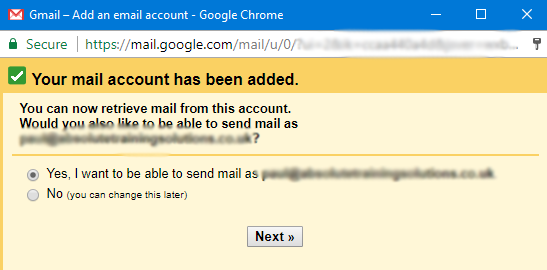
Make sure the box is checked to enable sending email from the account and click on the “Next” button:
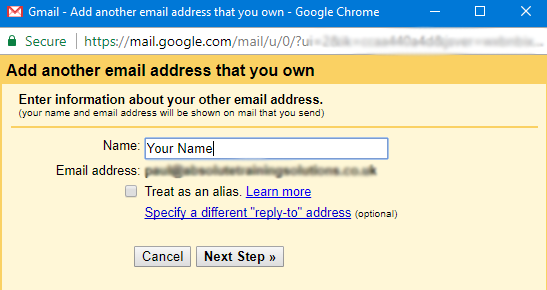
Enter your name, uncheck the box that says “Treat as an alias” and click on the “Next Step” button:
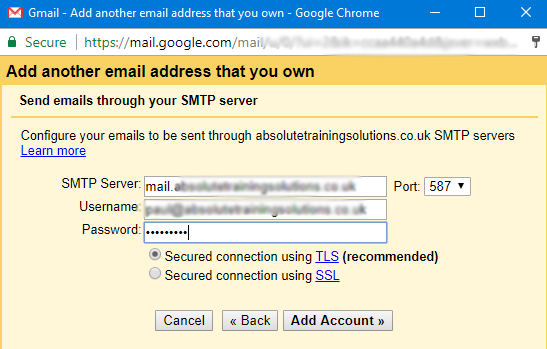
The SMTP Server field should be pre-filled but if not, enter mail.yourdomain.co.uk (change yourdomain.co.uk for your own domain).
Enter your email address in the Username field and password. Leave Port on 587 and check the Secured connection using TLS option. Click on the “Add account” button:
Finally, you will need to verify that you own the email address by clicking on a verification link or entering a code.
If you like GMail you’ll love working with Google Suite. For a better way of working, and to save money on office software you really should check it out https://goo.gl/hJNCI4